THE BOARD
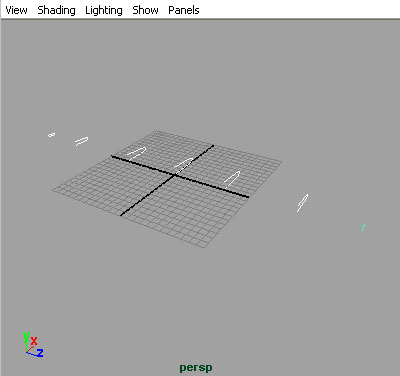
Click over the Front viewport
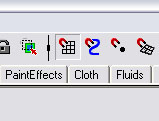
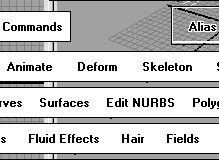
Make sure you are in the Modeling Shelf menu.
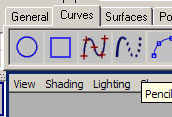
Select Curves I EP Curves
Make sure your grid snaps are on.
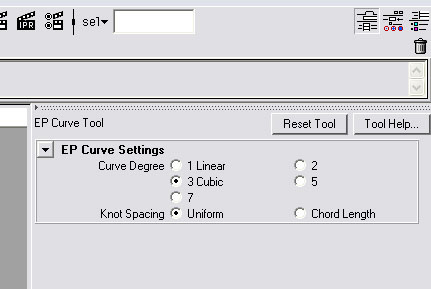
Click on Tool Settings in the side panel. Set it to 3 Cubic.
Create half a surfboard section:
Click on the y-axis a couple of grid lines above the origin to make your first
curve point for your surfboard section. Turn off grid snap and continue to draw
the section.
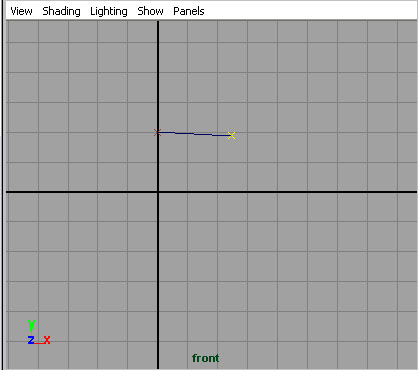
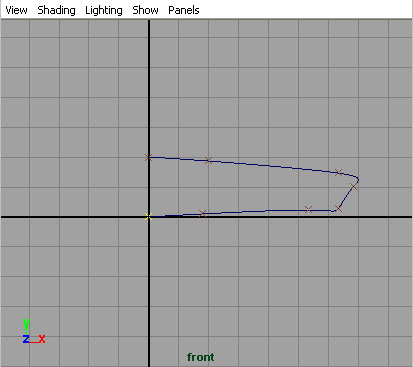
It does not need to be exact because we will fine tune it later. After creating the second to last curve point, turn your grid snap back on to make sure that your last point is at the origin. Push enter to complete the curve. Turn off grid snap.

Hold down right mouse button over the curve. Choose Control Vertex. Select a vertex and push W (Move tool). Use left mouse button to drag control point into the desired shape. (Note: Drag the arrows of the move tool to constrain movement to an axis.)
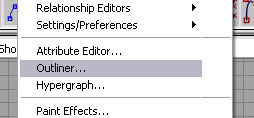
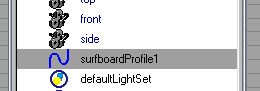
Open your outliner.
Window I Outliner Double-click on curve1 and rename.
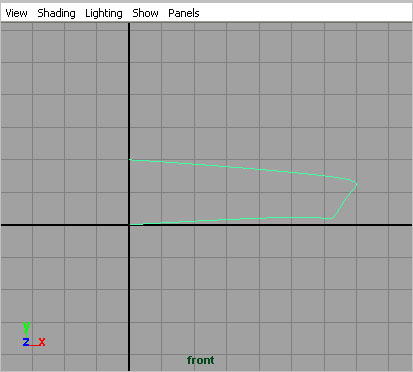
Create Multiple Varied Sections:
Hold down right-click and move the arrow over the Object mode and release the
mouse. With the curve selected click on Edit I Duplicate (options box)
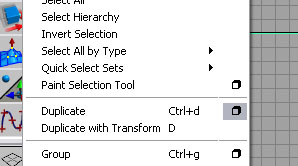
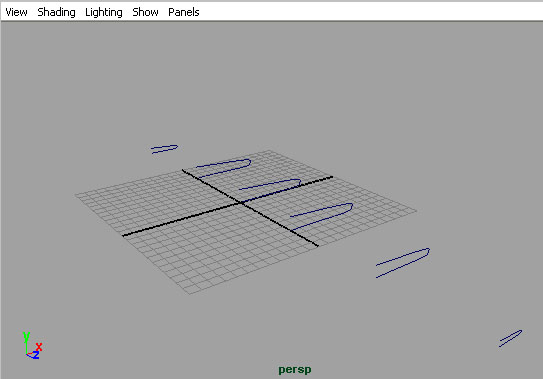
In the option box select Edit I Reset Settings and hit Duplicate (Ctrl + d). In the top, or preferably the perspective, viewport with the move tool selected pull the new curve away from the old one in any direction along the z-axis.
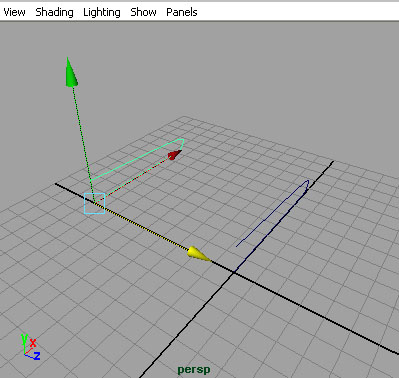
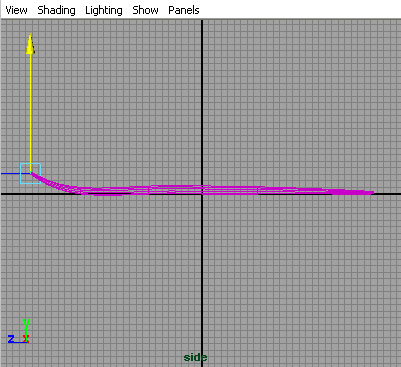
With the new curve selected, select the scale tool (r). Click the left mouse button over the yellow box and scale the curve down slightly. Repeat this process several times to create the profile of your board. (Note: Using the scale tool while clicking over the red, green, or blue boxes will allow you to scale confined to an axis).
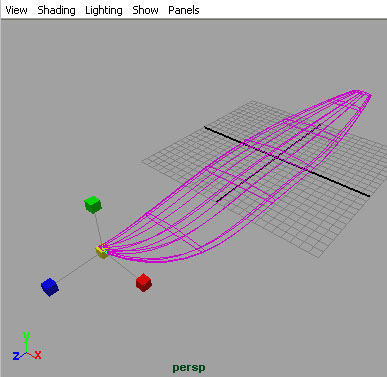
Loft your surfboard surface:
Select each curve in order from one end to the other by clicking on them with
Shift key depressed.
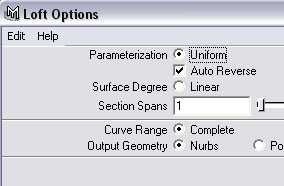
Hold down the space bar to bring the Hotbox and pick Surfaces I Loft (options box).
In the Loft options dialogue box select Edit I Reset Settings. Hit Loft.
In the outliner, rename your new surfboard surface.

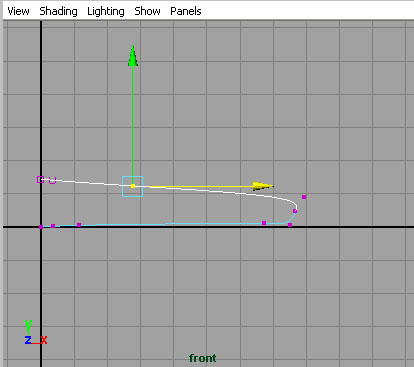
Create the whole surfboard: Use the outliner to select the curve that defines the front tip of your surfboard. Use the move tool to pull the tip up into a nice swoop.
(As you can see, moving a single curve effects the greater surface.) Pick the surface Edit I Duplicate (options box) and set the x-scale to -1 and the geometry type to instance. Hit Duplicate. (Note: You can still go back and modify the individual curves to further modify the entire surface and it will update both halves).
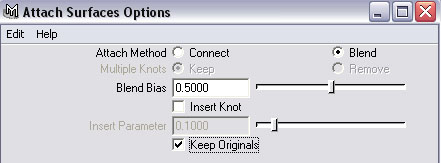
Join your surfaces:
Pick both surfaces Edit NURBS I Attach Surfaces (options box). In the options
box change the Attach Method to Blend. Hit Attach.
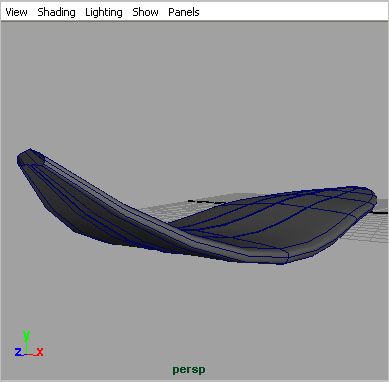
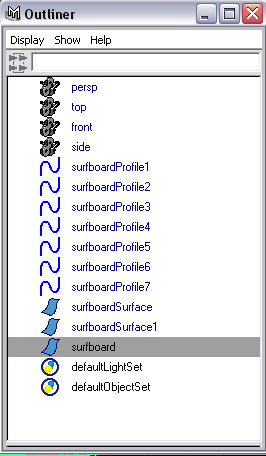
Rename your composite surfboard surface. Select all your curve profiles, the two halves of your surfboard surface, and the surfboard itself in the outliner and press Ctrl + h to hide them.